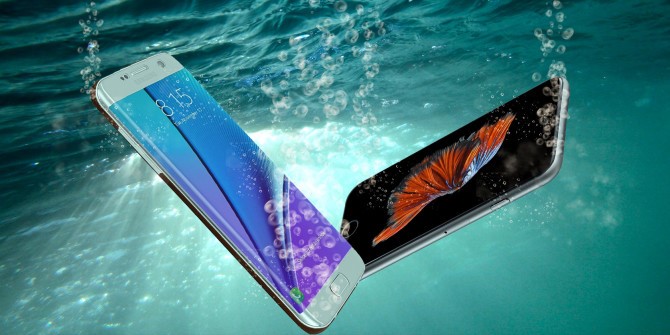
It finally happened: you dropped your phone in the toilet. Or it fell into the pool. Or you accidentally spilled your entire extra-large cola after ordering it from the drive-thru.
The how isn’t as important as the what: your phone is water damaged. To make sure it isn’t permanent, here’s a six-step guide to fixing your waterlogged handset.
Step 1: Get it out of there!
No matter how shocking it may be to see your precious handset floating in a pool, don’t let your disbelief or disappointment stop you from acting fast. The last thing you want to do is freeze under the pressure — and let your phone remain in its liquid hell for a second longer than it should. The longer it stays submerged, the more likely it will sustain damage.
Step 2: Remove the battery and/or micro-SD card if you can
If you have a newer phone, you’ll likely be able to skip this step. In many cases, the latest flagships have very few modular options. The iPhone XS, the Pixel 3, and the Mate 20 are examples of recent handsets that don’t have a removable battery or micro-sd card slot. The LG V20, Moto E4, and the Galaxy S5, on the other hand, do — so you’ll want to double check what make and model you have to see if this step applies.
Step 3: Turn it off
If you have a newer handset, then you can’t remove the battery to quickly power off your phone. You’ll have to do it the old-fashioned way by pressing the off/home button to cut the power. This will reduce the chances your phone will short circuit.
If its accidental dunk turned it off, don’t touch it. It may be tempting to tap against the on/off, home, or volume buttons as if administering CPR to your phone, but this frantic behavior might make things worse. Leave your phone as it is and move onto the next step.
Step 4: Towel dry
In many cases, a wet phone is just like you after you take a dip — accidental or otherwise. It needs to dry off, and the quickest way to do that is by wiping it down with a towel. Any towel, rag, or paper towel will do as long as it’s clean.
Think of your phone’s cracks, ports, and other indentations just like your own. Doctors recommend you resist the temptation to jam a Q-tip into your ears in an attempt to dry. This stick can push water further into your ears, and it could damage your ear canal. Similar rules apply to your phone’s ports. By shoving a Q-tip or other tool into these crevices, you could push liquid further inside your phone and make things work.
Step 5a: Put it in rice
Step 5 is an attempt to dry out these tricky, internal water-damaged areas. You have a few options for how you want to dry your phone thoroughly, which is why we’ve broken step 5 down into three parts.
Dry rice is by far the most well-known and affordable option. Simply drop your phone (and any of its removed pieces) into a bag of dry rice and leave it there for at least one full day. The dry rice should absorb any remaining liquid.
Beware: the moisture has to go somewhere. If your phone is especially waterlogged, this liquid could turn the dry rice into a gross, sticky mess that may or may not clog the ports you’re attempting to de-liquify.
Step 5b: Use synthetic desiccants
Do you know those packets of pellets that come in every new pair of shoes? They’re usually labeled with “DO NOT EAT”. Ringing any bells? These are synthetic desiccants, and they could be your secret weapon when fixing a waterlogged phone.
See if you have any of these packets lying around the house. If you do, place these and your phone in a sealed container. This will make sure these packets draw moisture out of your electronics and not the air around it.
Step 5c: Try a professional dryer
If you don’t have any of these packets on hand, you can purchase drying bags that use these desiccants to remove excess liquid from your devices. With options like Bheestie Bag, Thirsty Bag, and Dry-All, you have plenty of options to choose from. You can use some more than once, but others are one-time use products, so make sure you take note if you purchase your own.

Step 6: Don’t let it happen again
Steps 1–5 are only likely to help — they’re not guaranteed to reverse any water damage. Dropping your phone into liquid frequently increases the chances the next plunge will kill it for good.
If this isn’t your first rodeo with a water damaged phone, take this as a sign you need to make a change, so it never happens again. Be a little more conscientious about where and when you use your phone, especially around bodies of water.
You may want to invest in a grip-enhancing skin to help you keep your phone in your hands. Companies like dbrand use texturized materials to boost the grip of their fashionable decals, and some are investing in revolutionary grip accessories. You can stop by dbrand to learn more about their upcoming Grip case — a carbon composite accessory with impact technology that’s compatible with any of their skins, including the latest Mate 20 skins, iPhone skins, or Pixel skins.
With a skin wrapped around your handset and careful handling, you might avoid a repeat of this tragic, liquid disaster. But try to stay calm if they don’t. Walk through these steps again to try to undo the damage.
I’m writing on this topic these days, slotsite, but I have stopped writing because there is no reference material. Then I accidentally found your article. I can refer to a variety of materials, so I think the work I was preparing will work! Thank you for your efforts.